
 Amanda Waller
Preparing asparagus for cooking takes about five minutes and involves just three essential steps: washing the spears thoroughly, snapping or trimming off the woody ends, and optionally peeling thicker stalks. This simple process makes the difference between tender, flavorful asparagus and a stringy disappointment, yet many home cooks skip crucial steps or overthink what’s actually a straightforward task.
Last spring, Maria, a mom in our Jacksonville community program, confessed she’d been avoiding asparagus for years because she wasn’t sure how to handle those tough bottom portions. Once she learned the “bend and snap” method, her kids started requesting roasted asparagus as their go-to green vegetable. Stories like Maria’s remind us that small kitchen confidence-builders like proper vegetable prep directly support healthy eating habits in our families.
The beauty of asparagus preparation is that it requires no special culinary training, just a few seconds per spear and an understanding of what you’re removing and why. Whether you’re planning to blanch thin spears for 30 seconds to a minute, or roast thicker stalks for a quick 15-minute side dish, proper preparation ensures even cooking and maximum flavor. With parents involvement in meal preparation, teaching kids to prep vegetables like asparagus becomes a hands-on lesson in food literacy and self-sufficiency. The steps ahead will walk you through choosing the right asparagus, removing what needs to go, and matching your prep technique to your chosen cooking method.
What You’ll Need to Prep Asparagus
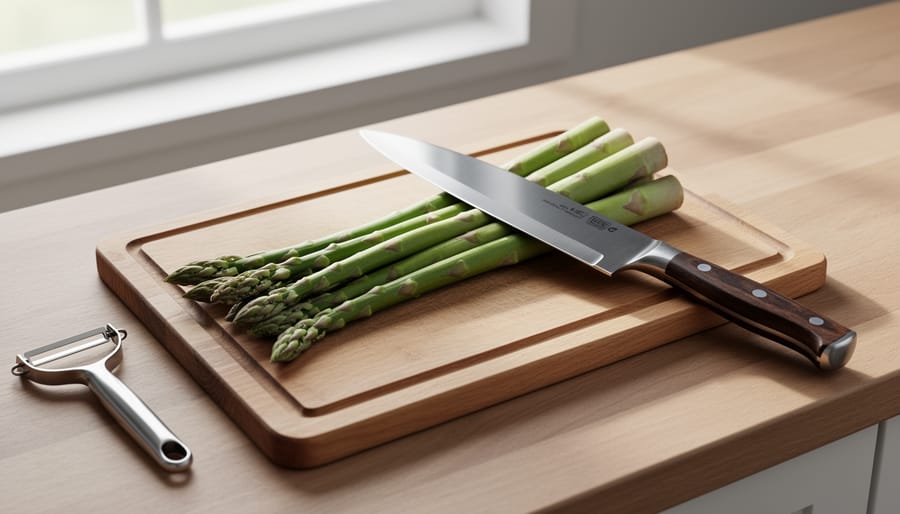
You probably have everything you need already sitting in your kitchen. A mom from Portland recently told us she’d been intimidated by asparagus for years, thinking she needed special tools. Then one Saturday morning, she looked around her kitchen and realized she had it all, and within ten minutes, she’d prepped her first batch. It really is that simple.
Here’s what you’ll use:
- A sturdy cutting board (any size works)
- A sharp kitchen knife
- A colander for rinsing
- A bowl of cool water
- A vegetable peeler (only if you’re working with very thick spears)
That’s it. No specialty gadgets, no expensive equipment. The cutting board gives you a stable surface, the knife handles any trimming, and the colander makes washing quick. The bowl of water is just for a good rinse, and honestly, you can skip the peeler most of the time, it’s only helpful for those really thick stalks that sometimes show up at the farmers market.
Set everything out on your counter before you start, and you’ll move through the process smoothly. Kids love having their own “prep station” too, especially if they get to rinse the asparagus in the colander. One teacher we know lets her students help with this step during cooking class, and they’re always surprised at how grown-up they feel doing real kitchen work.
Important Things to Know Before You Start
Before you start preparing asparagus, let’s cover a few important things that will make the process safer and help you pick the best spears. These tips apply whether you’re shopping at a farmers market with your kids or grabbing a bunch at the grocery store on a busy weeknight.
When it comes to knife safety, set up a designated adult cutting zone if children are nearby. If older kids want to help with trimming, show them how to hold the knife properly with a firm grip and always cut away from their body. Many families find that the snap method for removing woody ends (which we’ll cover in the next section) is a safer way for children to participate without handling sharp tools.
Selecting fresh asparagus is easier than you might think. Look for spears that are firm and straight with tight, compact tips, they should look almost like tiny green pinecones at the top. The color should be vibrant, ranging from bright green to deep purple depending on the variety. Run your hand gently along a spear; it should feel smooth and crisp, not soft or bendy.
Avoid bunches with slimy stems or tips that look dried out and feathery. Those are signs the asparagus has been sitting too long. Fresh asparagus should snap cleanly when bent, while old asparagus will just bend without breaking. Getting kids involved in this selection process teaches them valuable skills about choosing fresh produce and gives them ownership over what goes on their plate.
Step-by-Step: Getting Your Asparagus Ready
Step 1: Rinse and Choose Your Spears
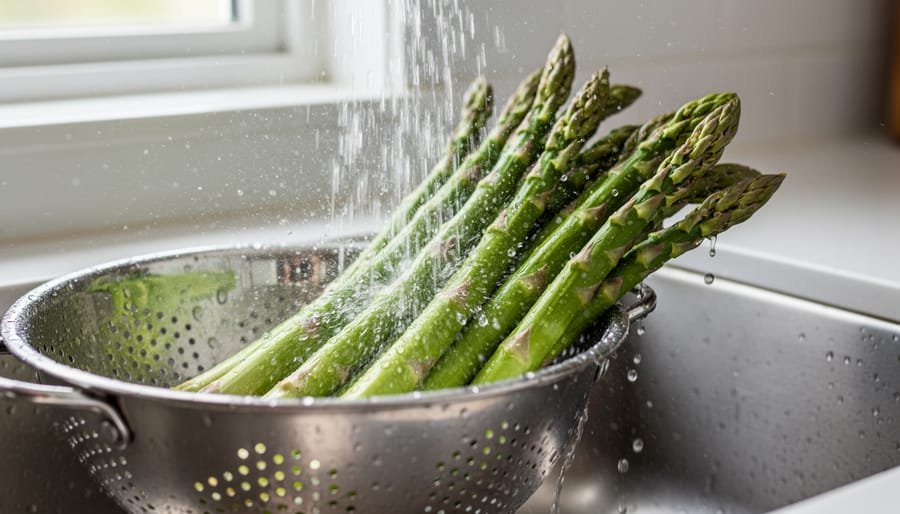
Hold your asparagus bunch under cool running water and gently rub the spears with your fingers to remove any dirt or grit that might be hiding in the tips. Fresh asparagus should feel firm, not bendable, and the tips should be tightly closed, almost like tiny flower buds that haven’t opened yet. The color should be vibrant green or purple depending on the variety.
Now comes the sorting part that’ll make your cooking so much easier. Look at the thickness of each spear. Hold one up, and you’ll notice some are as thick as your thumb while others are slim as a pencil. Thicker spears are your friends for roasting because they won’t get too soft and floppy during the cooking time. The thinner, more delicate ones are perfect for quick blanching, since they only need 30 seconds to a minute in boiling water.
Maria, a mom from our community program, told us about her daughter’s first asparagus shopping trip. The eight-year-old insisted on picking the “baby” skinny ones because they looked less intimidating. That night, they blanched them together for exactly one minute, and her daughter ate every single spear on her plate. Sometimes the thinner spears are less scary for kids trying vegetables for the first time, and that’s perfectly fine.
Step 2: Trim the Woody Ends
Now comes the most satisfying part: trimming away the tough, woody bottom portion so you’re left with only the tender, delicious part of the spear. Think of asparagus like a pencil that’s been used down to a stubby end, the bottom is too hard to write with (or in this case, too fibrous to enjoy eating), while the top part is what you actually want.
You have two simple methods to choose from, and both work perfectly.
The snap method is the easiest and most fun, especially if you have kids helping. Hold one spear with both hands, one near the tip and one near the bottom. Gently bend the asparagus until it naturally snaps. It will break exactly where the tender part meets the woody part, like magic. The asparagus knows where to break, so you don’t have to guess. Kids love this method because they can see and feel the difference, and there’s something oddly satisfying about that crisp snap sound.
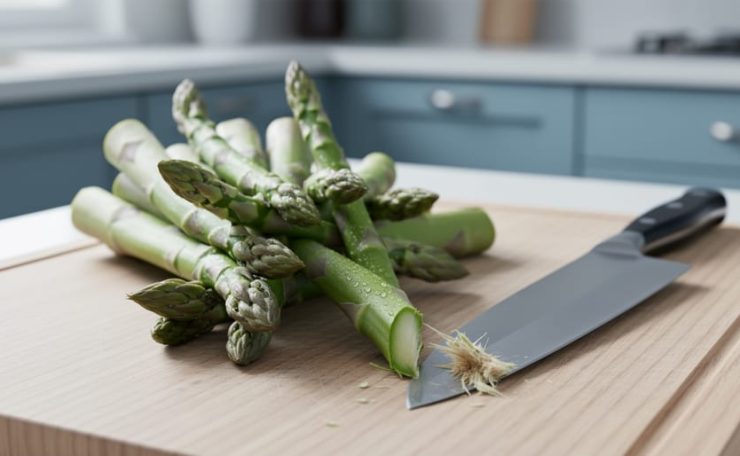
The knife method gives you more control and less waste, which matters if asparagus is pricey at your store. Lay the spears on your cutting board and use a sharp knife to slice off about one to two inches from the bottom. Line up several spears at once to speed things up. You’ll notice the cut ends look drier and lighter in color compared to the juicy, bright green upper portion.
For very thick spears (about as wide as your thumb), you might want to peel the lower half with a vegetable peeler. This removes the tough outer skin and makes the whole spear tender and cook evenly, perfect for roasting since thicker asparagus holds up better in the oven.
Step 3: Prep for Your Cooking Method
Once you’ve rinsed and trimmed your asparagus, the final prep step depends on how you plan to cook it. This is where you set yourself up for success, and the good news is that both methods are incredibly forgiving.
Getting Ready to Roast
If you’re roasting, the key is making sure your asparagus is dry. Use a clean kitchen towel or paper towels to pat the spears thoroughly. Wet asparagus won’t crisp up nicely in the oven, it’ll steam instead. Once they’re dry, spread them on your baking sheet in a single layer so they have room to breathe. Thicker spears work best for roasting because they hold up beautifully without turning soft and floppy. You’ll toss them with a drizzle of olive oil, a sprinkle of salt, and a bit of pepper right before they go in the oven. The whole process from start to finish takes about 15 minutes, with just 5 minutes of hands-on prep.
One mom from a cooking workshop I attended shared how her daughter loved helping with this step. “She gets to shake the pan and make sure every spear is coated,” she said. “It’s her favorite part, and she’s way more likely to eat vegetables she helped prepare.”
Prep for Blanching
If you’re blanching, your main job is having a bowl of ice water ready before you drop the asparagus into boiling water. This ice bath stops the cooking instantly and keeps that gorgeous bright green color. Thinner spears need just 30 seconds to 1 minute in the boiling water, while thicker ones take 1 to 2 minutes. The ice water trick also works perfectly for meal prep, you can blanch asparagus ahead of time, chill it completely, and store it in the fridge to use throughout the week.
Quick Cooking Methods That Work Every Time
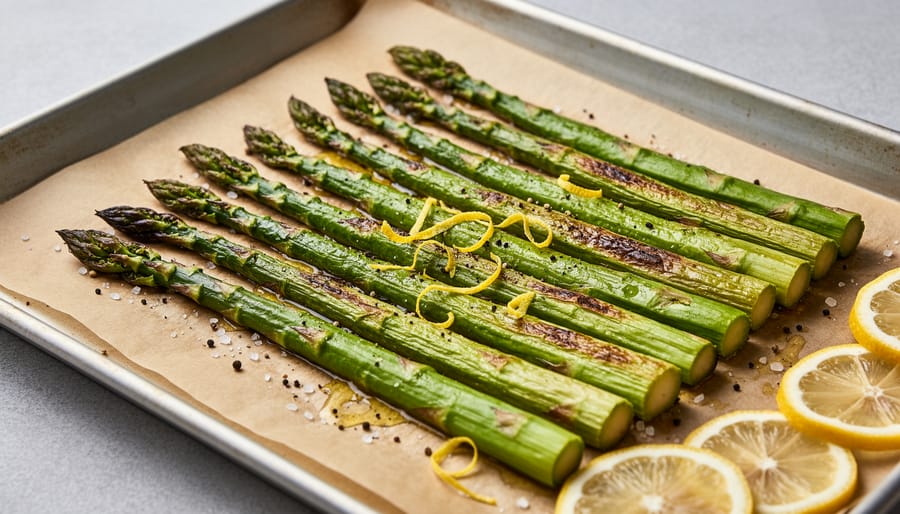
Once your asparagus is trimmed and ready, you have two tried-and-true cooking methods that families love: blanching and roasting. Both deliver that perfect “crisp-tender” texture, which simply means the asparagus is cooked through but still has a slight crunch when you bite into it, not mushy or limp. Think of it like a fresh green bean that’s just been warmed through and softened a bit, but still snaps when you eat it.
Blanching is the faster option. Drop your prepped spears into a large pot of salted boiling water and cook them just until they turn bright green and tender. For thin asparagus, this takes about 30 seconds to 1 minute. Thicker spears need 1 to 2 minutes. Then immediately transfer them to a bowl of ice water to stop the cooking. This method keeps the vibrant color and works beautifully when you’re adding asparagus to salads or pasta dishes.
Roasting brings out a slightly nutty, caramelized flavor that even picky eaters often enjoy. Toss your trimmed asparagus with olive oil, salt, and pepper, spread them on a baking sheet, and roast until crisp-tender. The whole process takes about 15 minutes from start to finish, with just 5 minutes of hands-on prep time. For roasting, thicker asparagus works better because it won’t get too soft and floppy in the oven.
A cafeteria manager at an elementary school in our network told us she was nervous the first time she served roasted asparagus. She chose medium-thick spears, roasted them until they had golden edges, and put them out alongside the usual sides. To her amazement, kids who’d never tried asparagus before picked up those roasted spears with their fingers and ate them like fries. The light char and simple seasoning made all the difference. Now it’s a regular rotation item, and parents report their children asking for asparagus at home.
How to Tell When Your Asparagus Is Ready
Knowing when your asparagus is properly prepped and cooked makes all the difference between a vegetable kids happily eat and one they push around their plates. Before cooking, your prepped asparagus should look clean with no dirt or grit, trimmed ends that are all roughly the same length, and spears sorted by thickness so they cook evenly. The cut ends should look fresh and moist, not dried out.
Once you start cooking, watch for that sweet spot called crisp-tender. Your asparagus is ready when a fork slides in easily but the spear still has a little resistance, like biting into a perfectly cooked green bean. The color should stay bright, vibrant green, never turning dull olive or mushy. A simple test kids can help with: gently lift one spear with tongs and let it drape slightly. If it bends just a bit but doesn’t flop completely over, you’ve nailed it.
If you meal prep ahead for busy weeknights, blanch your asparagus for the recommended time, then immediately plunge it into a bowl of ice water to stop the cooking. This keeps the bright color locked in and the texture perfect for reheating later. Drain well, pat dry, and store in an airtight container in the fridge for up to three days.
Common Questions About Preparing Asparagus
Can I prep asparagus the night before?
Yes! Rinse and trim your asparagus, then wrap the ends in a damp paper towel and store them upright in a glass with an inch of water in the refrigerator. They’ll stay fresh and ready to cook for up to two days.
Do I have to peel asparagus?
You don’t have to peel most asparagus. Only very thick spears benefit from peeling the lower half of the stalk with a vegetable peeler, which removes the tough outer layer and helps them cook more evenly.
What if my kids don’t like the taste?
Start by roasting asparagus with a little olive oil and salt, which brings out natural sweetness and creates crispy edges kids often enjoy. You can also try our kids nutrition tips for more strategies on introducing new vegetables without pressure or forcing.
How do I know if asparagus is too old to use?
Fresh asparagus should feel firm with tight, compact tips and vibrant color. Skip bunches with slimy stalks, dried-out ends, or tips that are starting to open and look feathery, these signs mean the asparagus is past its prime.
Can kids help with asparagus prep?
Absolutely! Kids love the snap method for trimming woody ends, they can hold each spear at both ends and bend gently until it breaks naturally. Younger children can rinse the asparagus in a colander while older ones can help with sorting spears by thickness.
These questions come up often when families are just getting started with asparagus, and the answers are simpler than you might think. Many parents worry they’re doing something wrong if their kids reject vegetables at first, but building familiarity takes time and patience. When children participate in washing, trimming, and preparing asparagus, they’re more likely to try it at the table. That hands-on involvement turns a mysterious green vegetable into something they helped create.
Preparing asparagus doesn’t have to feel complicated or intimidating. With just three simple steps, rinsing, trimming, and prepping for your chosen cooking method, you’ve unlocked a vegetable that can become a regular, nutritious part of your family’s meals. The beauty of this process is how little time it actually takes, and how much confidence it builds when kids see they can help create something healthy and delicious.
At Summer School Health, we believe that making nutritious eating accessible starts with breaking down the barriers that keep families from trying new foods. When parents discover how straightforward asparagus prep really is, vegetables stop feeling like a chore and start becoming an adventure.
Take the Martinez family, who started buying asparagus every Saturday after learning these basics at a community cooking workshop. Their two kids now race to see who can snap the woody ends faster, and roasted asparagus has become their go-to Sunday side dish. What began as a single attempt turned into a weekly tradition that brought fresh vegetables to their table without stress or struggle.
Your family’s asparagus story starts with that first bunch. Grab some this week, gather your kids, and see where these three easy steps take you.


